
Common Mistakes When Measuring Space for an Event Backdrop
Event backdrop measurement is an important first step when planning an event display. Getting the measurements wrong can cause unnecessary rework, additional printing costs and setup problems. Here are some common measurement mistakes to avoid.
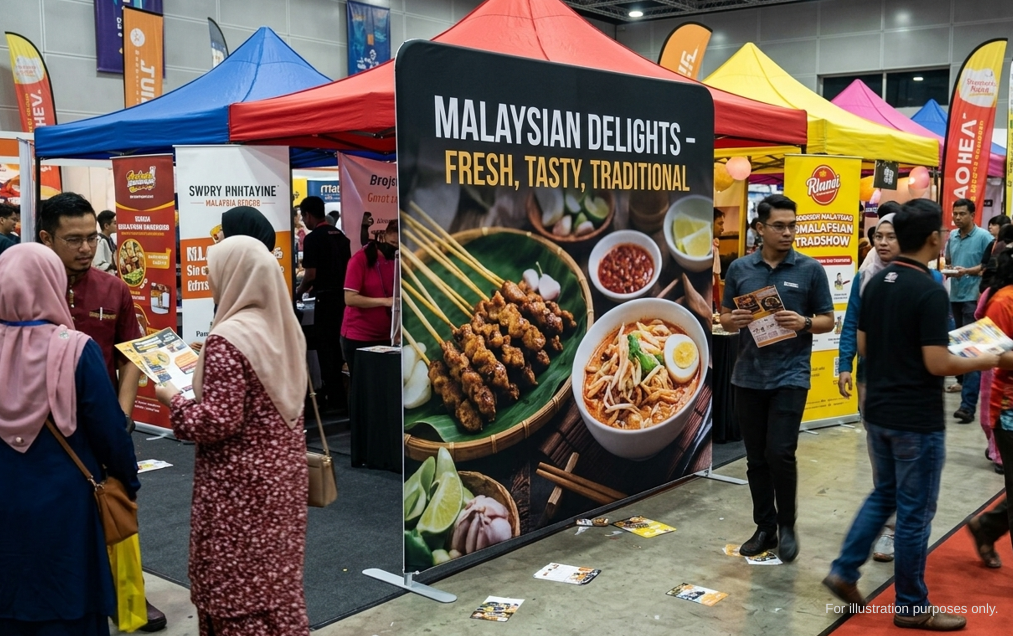
1. Event Backdrop Measurement: Start With the Available Space
One common mistake is deciding on a backdrop size before checking the available space. Start by measuring the area where the display will be placed. Check the available width and height, and consider whether there are any fixed structures nearby. For events held in places such as hotel ballrooms, convention centres or shopping mall atriums, the available space can vary significantly. Look out for: pillars and columns, doors and entrances, tables or furniture, air-conditioning vents, sprinkler heads, power points, and other fixed structures. Knowing the available space first makes it easier to determine whether the intended display size will fit properly.
2. Determine the Display Size Based on the Space
Another common mistake is choosing a display size first and then trying to make it fit into the venue. Instead, work backwards from the available space. For example, if the area is limited by a wall, pillar or nearby furniture, the display should be planned around those restrictions. The goal is not simply to use the largest possible backdrop. The display should fit comfortably within the available space without affecting the surrounding area or event setup.
3. Measure Width and Height Accurately
Always record the measurements clearly as width × height. For example: 244 cm (W) × 222 cm (H). Avoid relying on estimates such as “around 2 metres” or “about the width of the wall”. A small difference in measurement can affect the final artwork dimensions and how the display fits at the venue. Also, keep the actual measurements separate from the final artwork dimensions. The required artwork size may depend on the display structure and finishing requirements.
4. Check the Full Setup Area, Not Just the Wall
Looking only at the wall behind the backdrop is another common mistake. The actual setup may also require floor space. Before confirming the display, check: How much floor space is available. Whether people need to walk around the display, whether tables or chairs will be placed nearby, whether there are obstacles in front or behind the display, whether the display can be positioned safely within the event area. This is particularly important for event venues where space may be shared with registration counters, dining tables, stages or other event equipment.
5. Confirm the Final Dimensions Before Preparing Artwork
One of the easiest ways to avoid unnecessary rework is to confirm the final display dimensions before preparing the artwork. A common mistake is: Design → Prepare artwork → Confirm size → Discover the size needs to change. A better process is: Check the space → Confirm the display dimensions → Prepare the artwork → Proceed with production. This helps reduce the risk of having to resize or recreate artwork after the design has already been completed.
6. Quick Measurement Checklist
Before confirming your event backdrop, make sure you have checked:
☐ Available width
☐ Available height
☐ Floor and setup space
☐ Nearby pillars, doors or furniture
☐ Air-conditioning vents, sprinkler heads and power points
☐ Final display dimensions
☐ Artwork dimensions
Taking a few minutes to check these details before production can save time and avoid unnecessary adjustments later.
Before printing, always confirm the final event backdrop measurement with the event organiser or venue contact. This helps avoid last-minute changes and ensures the backdrop can be installed safely within the available space.
Final Thoughts
If you’re looking for a Tension Stand for your event setup, you can learn more about it here.
Explore our event display options →